
Link a class to a Stripe product
Choose the product students purchase and write the class refund policy.
Connect your Stripe account on Connections before configuring a paid class. Then open the class editor and choose Payments.
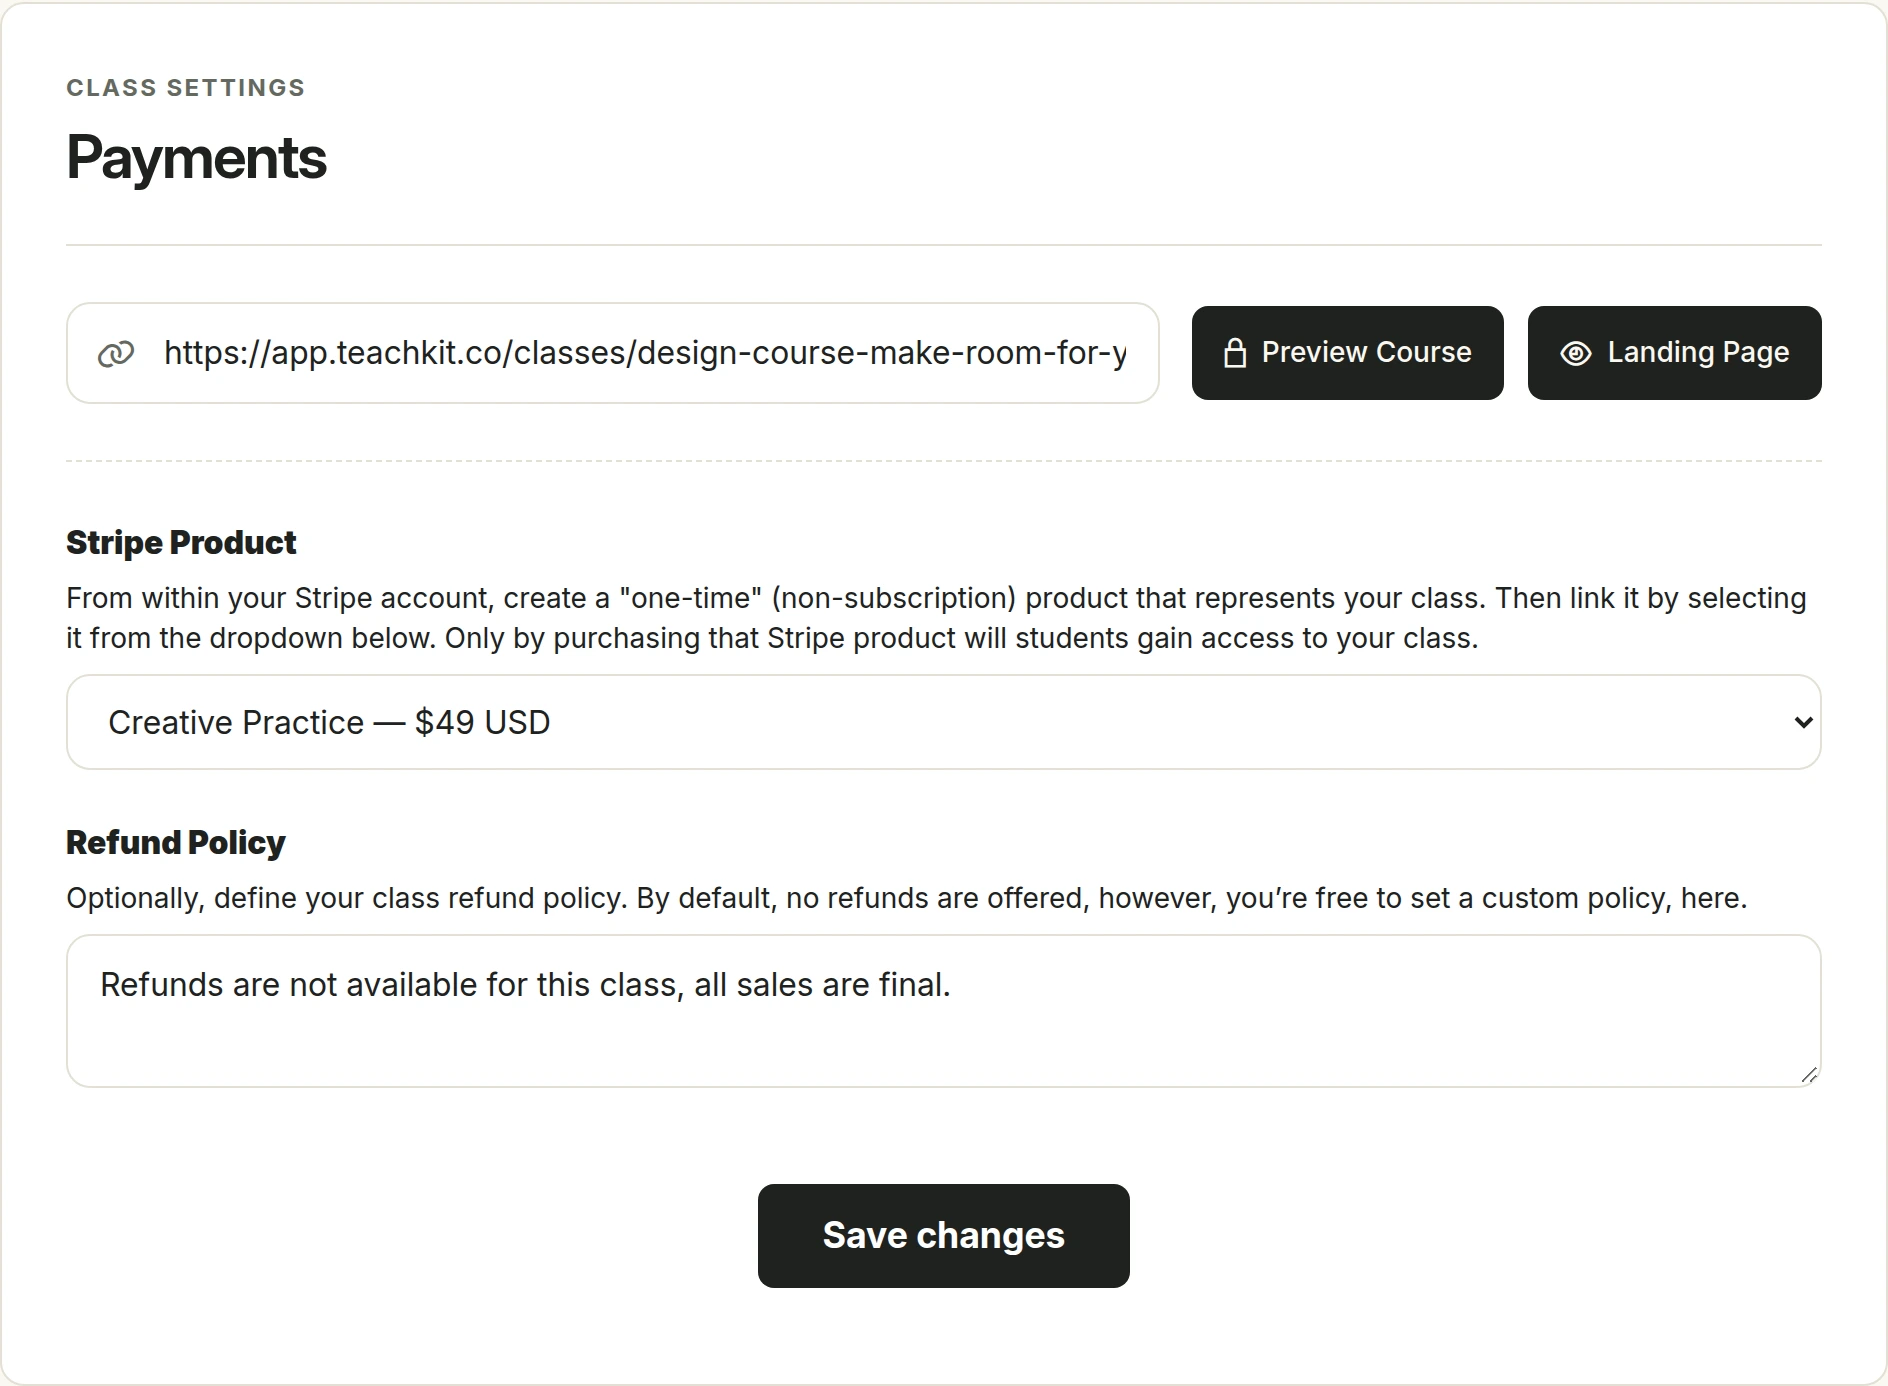
Configure the class
- In your Stripe account, create a product for the class with a one-time price. The class editor instructs you to use a non-subscription product.
- Return to TeachKit and select that product under Stripe Product.
- Review Refund Policy. When a product is selected, this field lets you replace the default policy, which states that refunds are unavailable and sales are final.
- Choose Save changes.
- Reopen the page to confirm the selected product and policy were saved, then review the class landing page.
The product is selected per class. Connecting Stripe alone does not choose a product or set a class price. Manage the product and price in Stripe, not in the TeachKit dropdown.
If no products appear
Confirm that Stripe is connected to the intended account and that the product exists there. Refresh the Payments page after creating the product. If you see Connect Stripe on the Connections page to select a product, complete the connection first.
A saved product selection is not a completed purchase. Students need a successful checkout to gain paid access. Do not ask students to rely on an abandoned checkout or a payment that has not completed.
Review Stripe setup and refunds before selling.